Monday, 17 October 2011

My weekend's sewing..

I have come up with this fellow, and thought I might make some for the christmas fair for the children. He is a bean bag filled with grain and I've done chickens in a similar way in the past and they are very tactile and good for throwing around!!
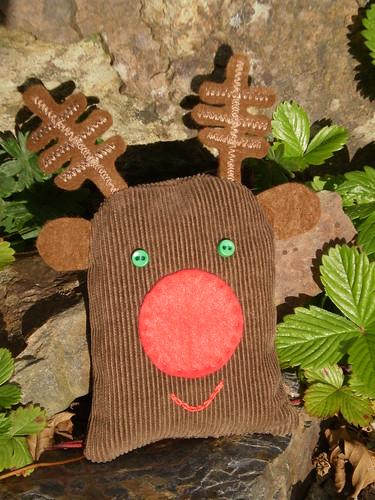
Bean bag toy


My inspiration came from a picture of a reindeer printed out from the very first blog I ever read,
Molly Chicken.
 Unfortunately the blog has not been added to since january 2010, and I have been back to the archives but can't for the life of me find the link for the reindeer. Her's was a free standing reindeer with a base but I always loved the simplicity of it.
I made this using the same base pattern as for the Smelly Nellies and the Aroma Robbins.
I cut the bag out of old cord trousers and appliqued on the face. The antlers are a double layer of felt zig zagged together to give them some strength.
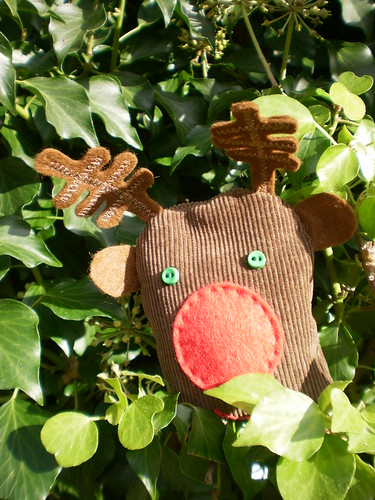
Bean bag toy

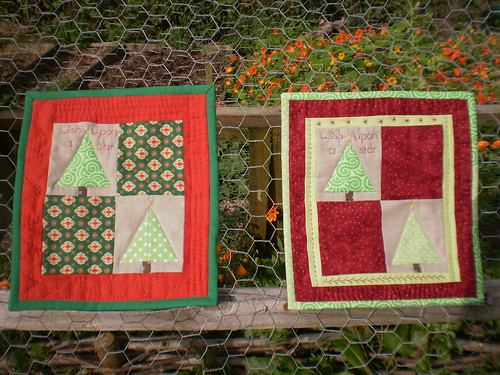
I have also finished another couple or mug rugs using the tree pattern as before here.


Saturday, 15 October 2011

Festive in October, oh my word!!


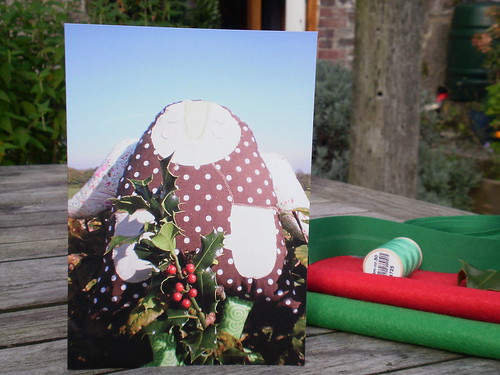
Cards and festive felt

What has come over me!
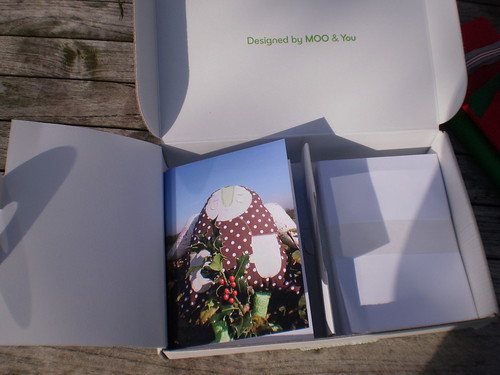
 I got an email from MOO (presumably after ordering these), saying I could have a reduction and the next thing I knew I had ordered some cards for christmas. I have never done this before.
 The process was very easy and a few days later this came through the post..
A little box from MOO

 
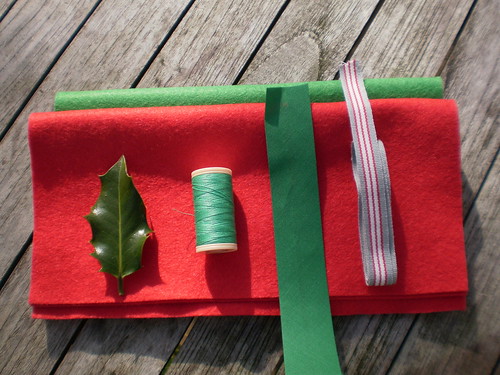
And then I was asked to do my 'usual' craft activity at the school fair in November so I decided to get a few red and green supplies so that I can do some experimenting and try and come up with a new twist on the badges of the last couple of years.
 Last time I underestimated the amount of help the little ones need with any actual sewing so I plan to keep it simple.
Has anyone else got any tips or ideas?


Festive supplies

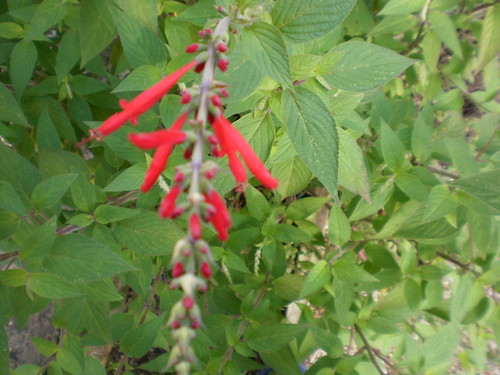
And the gorgeous flower spikes on the pineapple sage are just coming out
and match in rather well!

Pineapple sage

Sunday, 9 October 2011

Starting to make a few christmas presents.

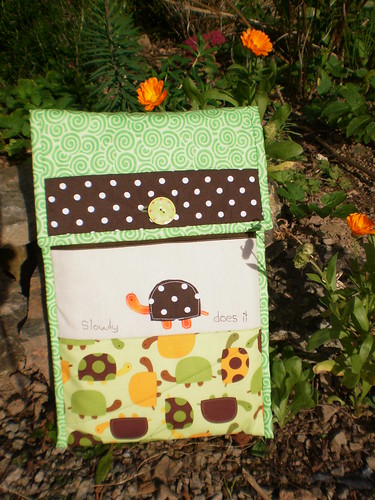
I like this design and it's one I have done a few times now, a very simple hot water bottle cover.

Hot water bottle cover

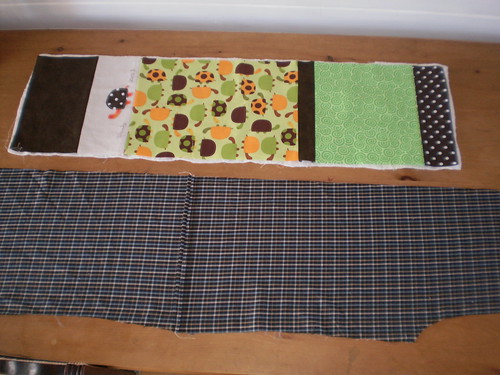
I start by making a strip of outside (approx 10" by 35"). This can be made up anyway you want.

Hot water bottle cover in the making
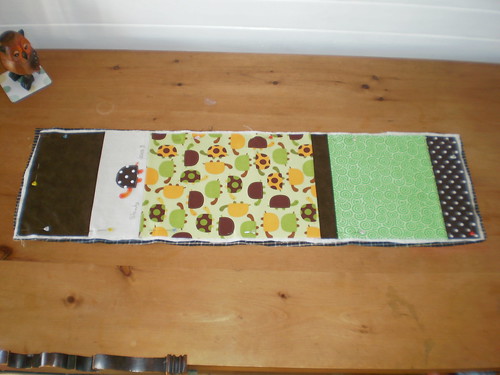
Then I layer this with wadding or blanket in the middle and some lining fabric (more recycled shirt in this case) and quilt the 3 layers together.

Hot water bottle cover in the making


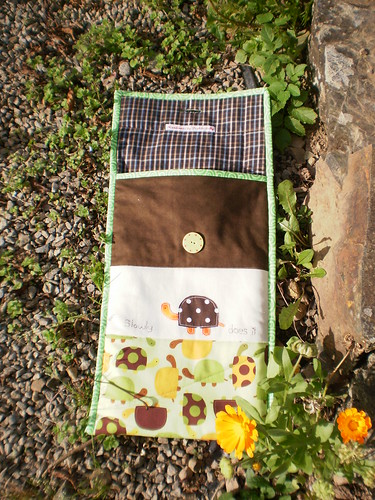
 I bind one of the short edges, then I fold the strip to form a pocket with a flap of about 5" sticking out at one end. The flap is the unfinished short edge.
I sew the two side seams with wrong sides together (ie so the cover is the right way out when you sew it and there are two unfinished seams down the sides).
Finally I bind the three unfinished edges and attach a button!
Hot water bottle cover


Hot water bottle cover 

I hope that makes sense for anyone who wants to have a go.