Saturday, 30 April 2011
It's coming on.
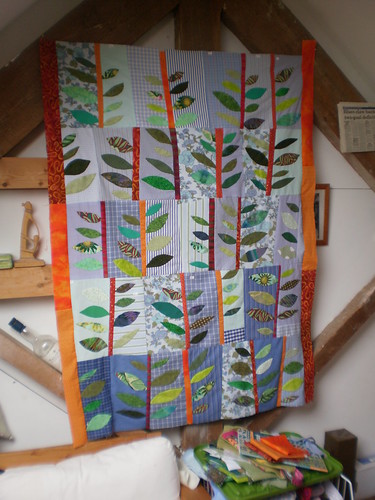
The light isn't so good today but you can get the gist. The rows have come together and the edges are on, so now all I need is a trip to Cowslip for some wadding!
Friday, 29 April 2011
the first row
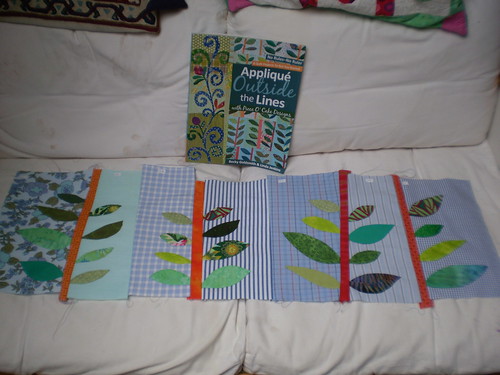
Morning. Royal Wedding morning so time to do a bit of sewing while listening to radio 2! I have been appliqueing (is that a word?) like mad attaching leaves to pieces of recyled shirt and pillow cases, and now it's time to join them up. Great book and clear instructions.
Wednesday, 27 April 2011
Peg Bag tutorial as promised.
 Start by choosing a coat hanger to base the peg bag around. I think that the ones that work best have a metal hook that will swivel on the base. The skirt hangers are good to start with because they are straight once you have removed the 'clippy' bits.
 Then you need to cut out 3 pieces of material. This coat hanger was 13" wide so I cut a backing piece 2" wider at 15" x 15". The second top front piece was 15"x 5". The third bottom front piece was 15" x 11".(This last piece will be covered with stitch and flip so only needs to be a scrap like left over curtain lining).
 Next cut some strips of varied widths from any fabrics you fancy and play about with them until you like the effect.
 Stitch the strips to the bottom front piece of fabric using the stitch and flip technique.
  Keep going until you cover the whole of the front bottom piece. Zig zag along top edge and turn under about 1/2".Sew. Also hem bottom edge of top front strip and embroider or add any 'frills' eg ricrac.
 Next place backing fabric right side up on table. Then place front top and front bottom pieces on top of the backing piece, right sides down. Use coat hanger to mark gap to be left in upper edge for the neck of the hanger (3" in this case). Pin and sew around the perimeter of the square about 1/2" from the edge leaving the marked gap. You can also zigzag edges to neaten and hold if you want/can be bothered!!
 Turn right way out, insert hanger and i usually sew a button through all layers to hold hanger in place and also this allows bottom front to gape a bit which helps get the pegs out. Now fill it with pegs and enjoy! It makes the boring job of hanging out the washing a bit more enjoyable.
Tuesday, 26 April 2011
Peg bag-time for a new one!
It has taken me long enough for me to get this from Flickr to the blog! i will try to post some instructions on how to make it for you Mum but it may take a while so bear with me.

Subscribe to:
Posts (Atom)