Ok, so here goes on the flower brooch tutorial
but you will have to let me know if this makes sense because tutorial writing isn't my strong point.
but you will have to let me know if this makes sense because tutorial writing isn't my strong point.
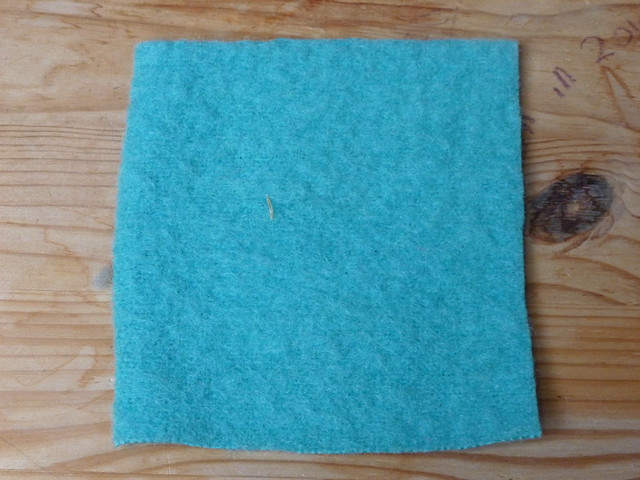
Start by cutting a square of blanket or thick felt (felted jumper would also work for this).
It needs to be big enough to allow a 1-2cm border around the flower.
If you sketch the finished flower size and shape that you want on a piece of paper first this will give you rough dimensions to aim for.
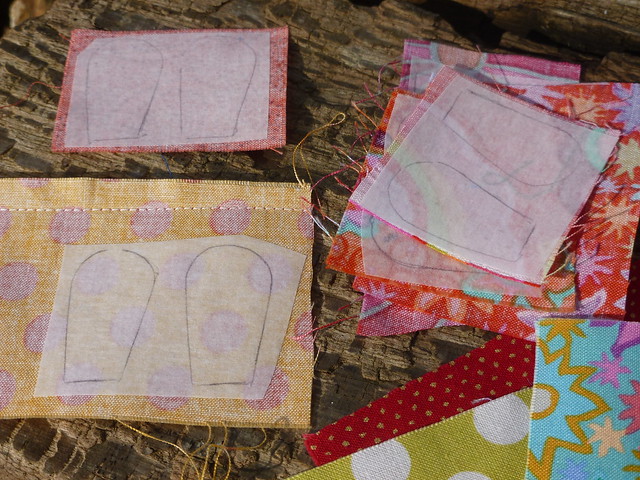
Next, go to your scrap pile/box/heap and root through for the petals.
This is where you can use up some of those weeny bits of your favourite fabrics that you just couldn't bare to part with.
Iron them flat and then draw the petals you want on some Bondaweb (or other double sided bonding type stuff!) and cut out leaving a small border, before peeling off one side of the paper and ironing onto the scraps of fabric (see above).
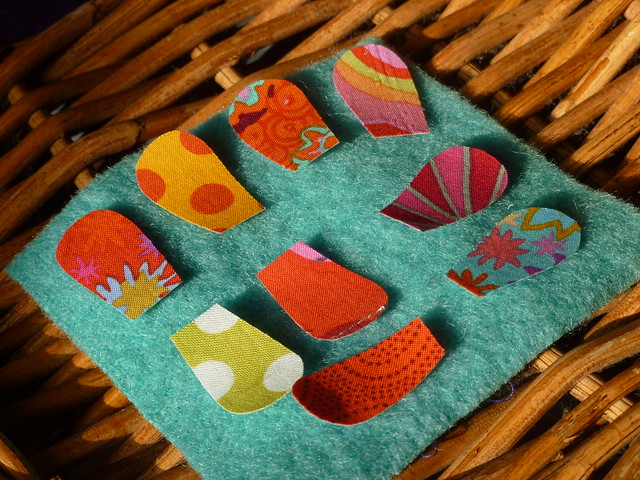
Cut out the petals.
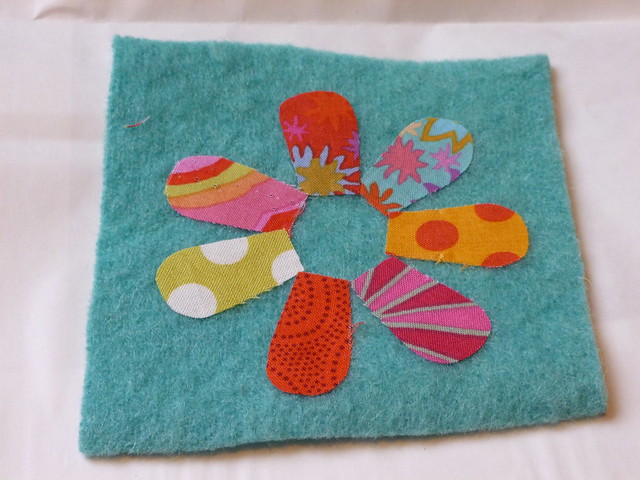
You should have ended up with a bunch of petals like this and the next step is to play around with them until finding a layout you like.
There is a lot of playing around with colourful scraps in this project
which I guess is why I enjoy it so much!
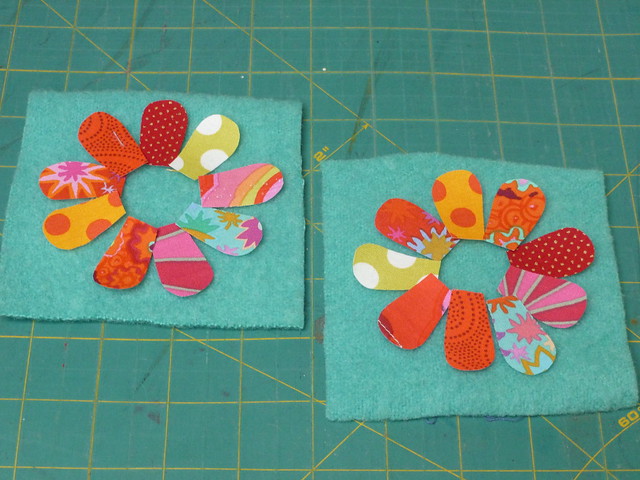
When you have the petals as you want them, peel off the other paper on the bondaweb (this is a bit tricky as the petals may be small but I found that making a very small sort of tear just started it off).
Place the petals back in the position you planned and iron in place...
You should now hopefully have a square of blanket with the petals stuck to it as above.
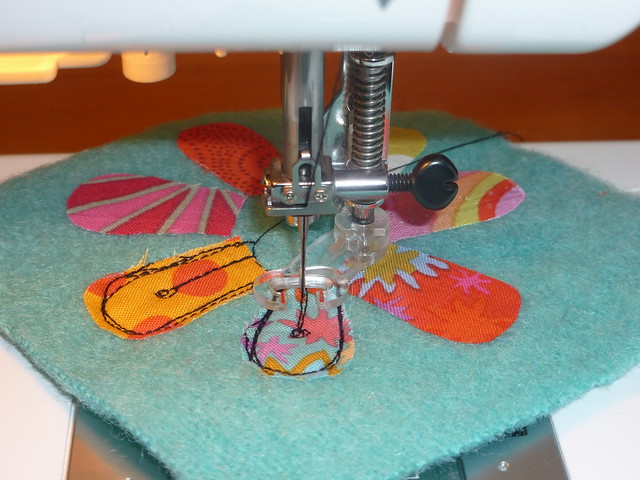
Now for some fun with free machining..
I used black thread (top and bobbin) but you could use any colour you like.
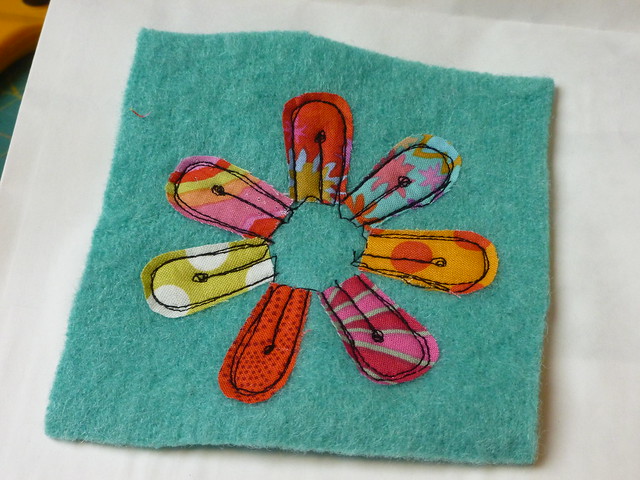
Drop the feed dogs and put on a free motion/darning foot and go ahead and do some "drawing" on the petals any way you like. I used a couple of loops of stitching to roughly outline the petals and added a stamen on each one on this flower. Remember that the central part will be covered by felt in a minute so wobbles there don't matter.
Next cut some circles of coordinating felt (or other fabric if you like).
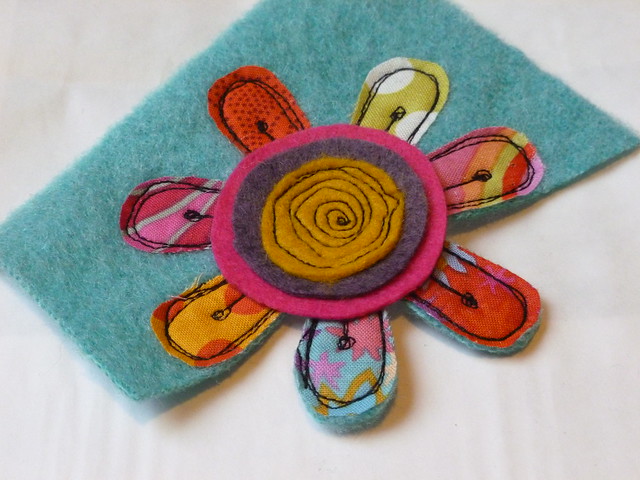
These can be held in place by some more free machining (as below in a spiral) but equally you could hand stitch this bit or add a button if you wanted.
Now cut away the blanket around the petals and you are nearly there.
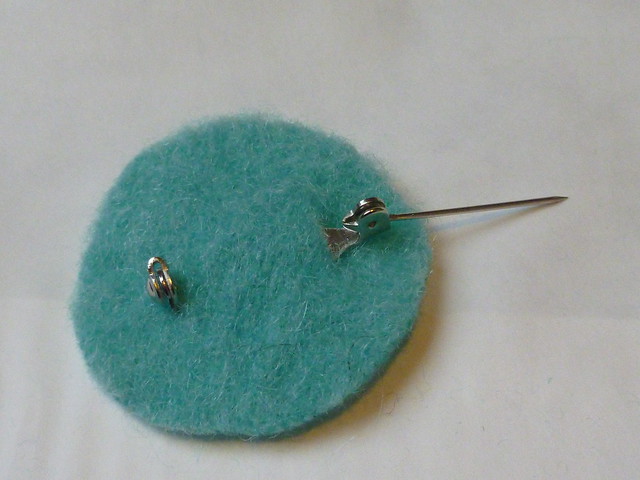
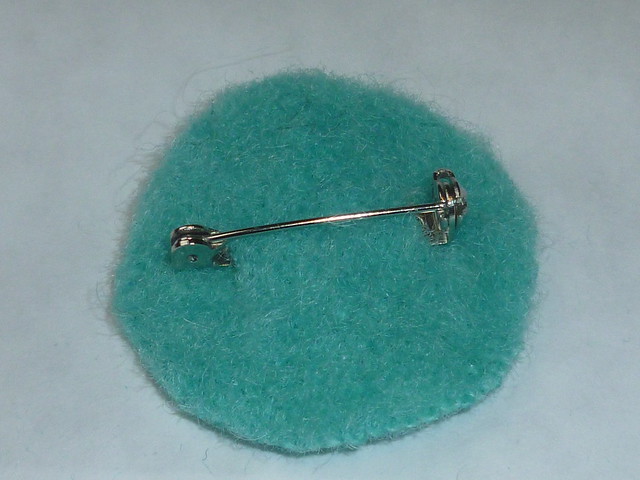
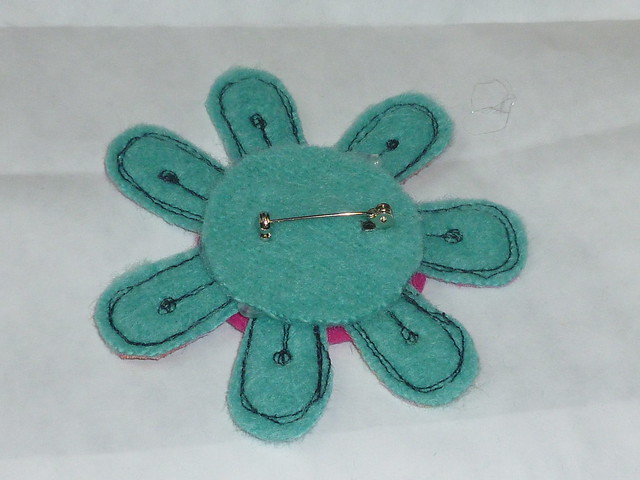
For the pin, I used a brooch clip pushed through two small slits in another circle of blanket.
(If you don't have a brooch pin, a small safety pin will also do the trick and can be sewn on).
This can then be glued to the reverse of the flower.
(Hot glue works well but any craft glue would do).
And that's it!
You will hopefully have ended up with something like this.
They can be pinned to a present, bag, coat or anything you like really.
For children I would attach the flower to a hairclip,
band or bobble as an alternative to the pin.
I would love to see if you make some and if any parts of the tutorial don't make sense please let me know and I will do my best to try and explain!
Happy sewing.
Vicky x
10 comments:
Thank you for this clear and helpful tutorial. I’m going to have a go tomorrow!
What a lovely clear tutorial. These would make nice Xmas stocking fillers. Thank you!
Как хорошо всё рассказали и показали.Спасибо!
Thanks for the inspiration. I am going to make a bunch for friends.
Impeccable !!! Une bonne idée pour quelques petites ventes en expo, au profit d'une association.... J'aime beaucoup. Merci pour le tuto. Chaque style fera de ces broches des créations individuelles et personnelles.... Merci !!
Thank you for showing these broches I will be making some for my friends
Would love to try these cute pins. You’ve made it very clear! Thank you
Thank you for the inspiration. Love it
Merci Vicky pour cette belle idée fleurie. Les explications sont claires, je vais essayer. 🌷
Gracias por compartir el tutorial de este hermoso broche... Excelente tu explicación, lo voy a hacer, me encantó.❤️
Post a Comment