Monday, 30 March 2015

Using up the yarn stash.


I can't quite decide on the next big project at the moment after finishing my  Cosy Blanket so I have been using up some of the leftovers and generally fiddling about.

Firstly our neighbour's sign to keep the cows off, still had a piece of Christmas yarn bombing on it so was in desperate need of updating. Holly leaves in March is taking things a bit far. That said, I am amazed that the stuff had lasted all that time outside in the wind and rain. This time we went for the spring look, with cosy colours and a sprinkling of teeny tiny flowers
 (the pattern for these is over at Attic24 here).


I am not even sure if they have been spotted yet as the weather has been fairly grim since I put it up!
 
Next up was a cushion cover.
Mainly made from leftover yarn from the blanket,
but with the addition of some Plum as the shop was out of Grape (Stylecraft DK Special).  
I'll give you a sneaky preview but I am waiting for a sunny day to get some better pictures and do the colours justice..


Do you have some favourite leftover projects to use up your yarn?
I am wondering about fingerless gloves next or maybe a beanie hat.

Spring continues to spring down here in Cornwall with lovely sploshes of colour and shoots coming up all over the place..


great big clumps of primroses in the hedgerow..
 
 
this sparkly blue clump of chionodoxa forbesii (I had to look that up!!) by the veg bed..


and these beautiful hellebore flowers from the garden which are floating in a glass dish on the kitchen window sill catching any fleeting rays of sunshine here today.


Wednesday, 18 March 2015

Spring Sunshine

Spring is definitely springing down here in Cornwall. The sunshine today is just beautiful and great for photos which is handy because I finished my Cosy Blanket last night!


I just love it. Thank you to Lucy for the pattern and colour choices which are what makes it.


I followed the pattern to the letter and the only change was a different colour choice in the border so that it goes well on our green sofa.


I used grape (top and bottom) and pale rose (sides) for round 1 of the border, Claret for round 2, Khaki for round 3, and finally Lime for round 4.


This has to be my favourite blanket and crochet experience so far. It is so snuggly to sit under and I am already feeling a bit lost without it and wondering if maybe a second would be too much!!
Maybe a different colour combination but that would be risky! Or maybe same colours and a different pattern, now there's a thought...
 
The light was so tempting this morning that after dropping the kids to school I felt the urge to ignore all the jobs that needed doing and head for the hills.
 
 
This is the cheese ring on Bodmin Moor which is where I found myself heading. It was so early that there was still  mist in the air and no one else in sight.


As the mist cleared the sky was clear blue...
 
 
Just one more Tor wouldn't hurt surely?!
Sharp Tor..


The views were fantastic and my companion was very happy.
This, by the way, is Tally. Aged 9 and the reason for the name of this blog.


I really must go and do some jobs now but they are no worse for the slight delay.
And tomorrow there is rain forecast and I have to go to work.
 
I hope that you were able to enjoy some sunshine too.

Sunday, 1 March 2015

Flower Brooch Tutorial

Ok, so here goes on the flower brooch tutorial
but you will have to let me know if this makes sense because tutorial writing isn't my strong point.
 
Flower brooch tutorial

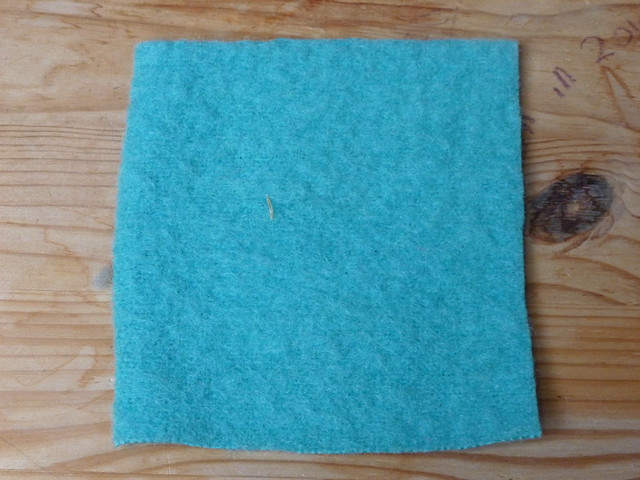
Start by cutting a square of blanket or thick felt (felted jumper would also work for this).
It needs to be big enough to allow a 1-2cm border around the flower.
If you sketch the finished flower size and shape that you want on a piece of paper first this will give you rough dimensions to aim for.

Flower brooch tutorial

Next, go to your scrap pile/box/heap and root through for the petals.
 This is where you can use up some of those weeny bits of your favourite fabrics that you just couldn't bare to part with.
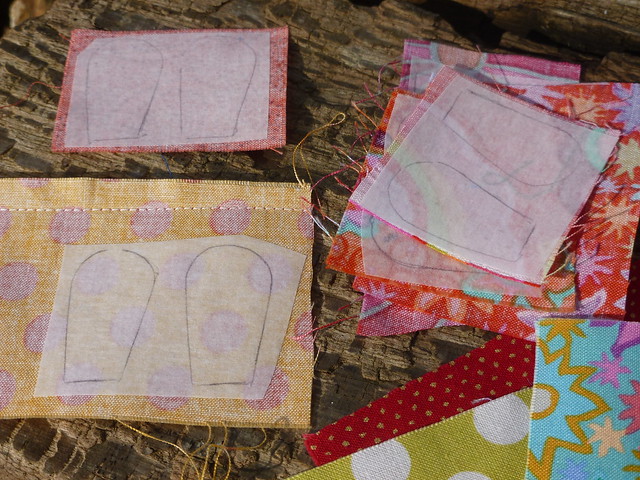
Iron them flat and then draw the petals you want on some Bondaweb (or other double sided bonding type stuff!) and cut out leaving a small border, before peeling off one side of the paper and ironing onto the scraps of fabric (see above). 
Flower brooch tutorial

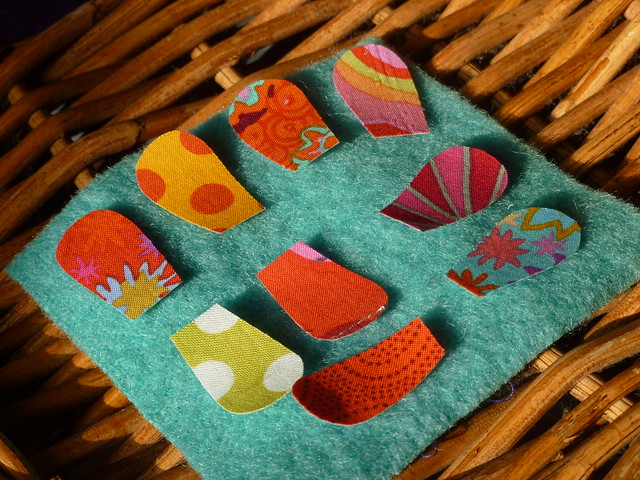
Cut out the petals.
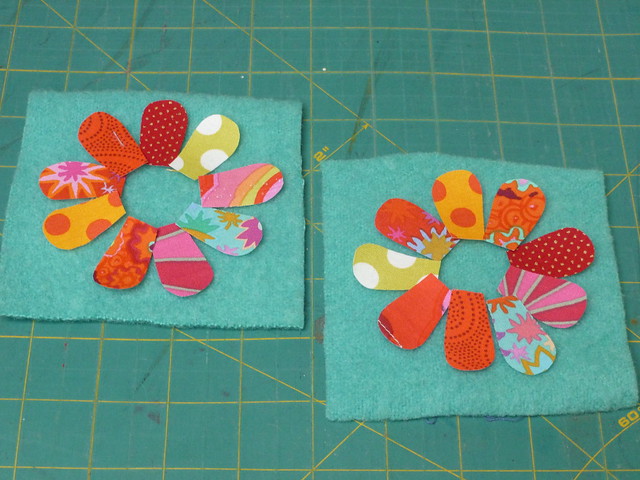
You should have ended up with a bunch of petals like this and the next step is to play around with them until finding a layout you like.
There is a lot of playing around with colourful scraps in this project
 which I guess is why I enjoy it so much!
Flower brooch tutorial

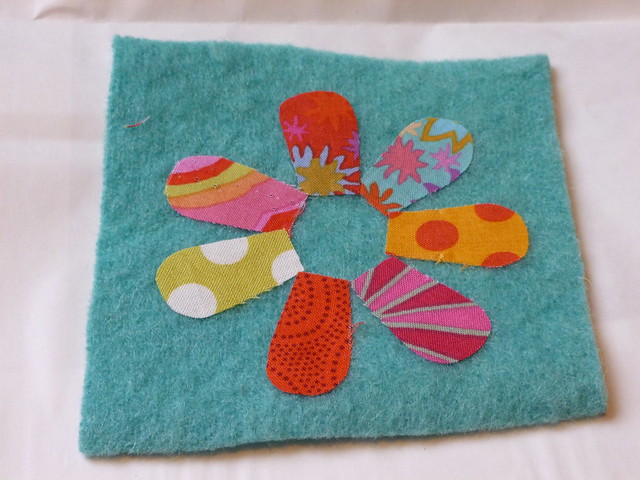
When you have the petals as you want them, peel off the other paper on the bondaweb (this is a bit tricky as the petals may be small but I found that making a very small sort of tear just started it off).
Place the petals back in the position you planned and iron in place...
Flower brooch tutorial
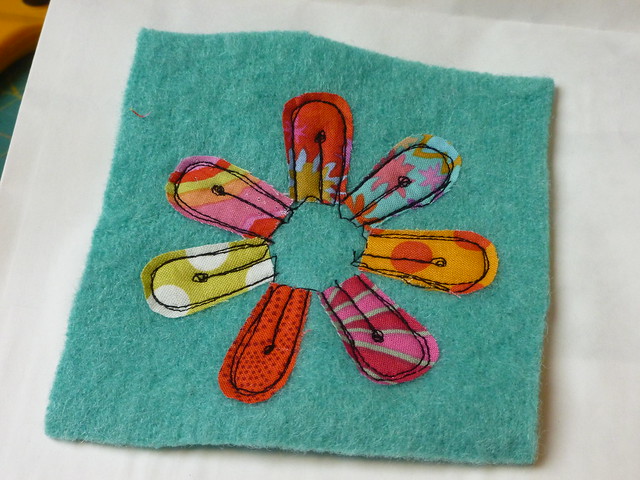
You should now hopefully have a square of blanket with the petals stuck to it as above.
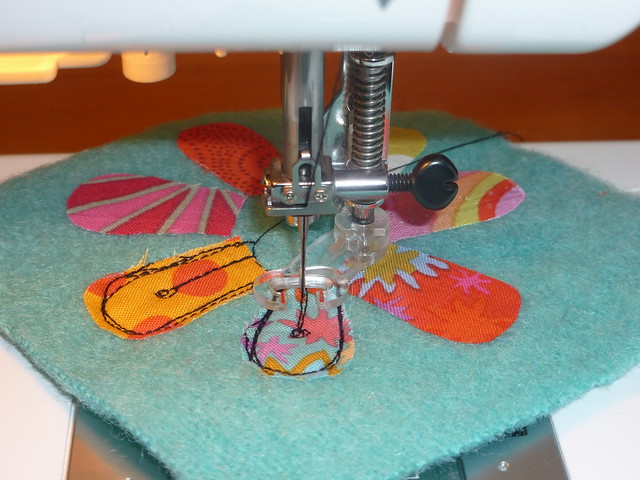
Now for some fun with free machining..
 
Flower brooch tutorial
 
I used black thread (top and bobbin) but you could use any colour you like.
Drop the feed dogs and put on a free motion/darning foot and go ahead and do some "drawing" on the petals any way you like. I used a couple of loops of stitching to roughly outline the petals and added a stamen on each one on this flower. Remember that the central part will be covered by felt in a minute so wobbles there don't matter.
Flower brooch tutorial
 
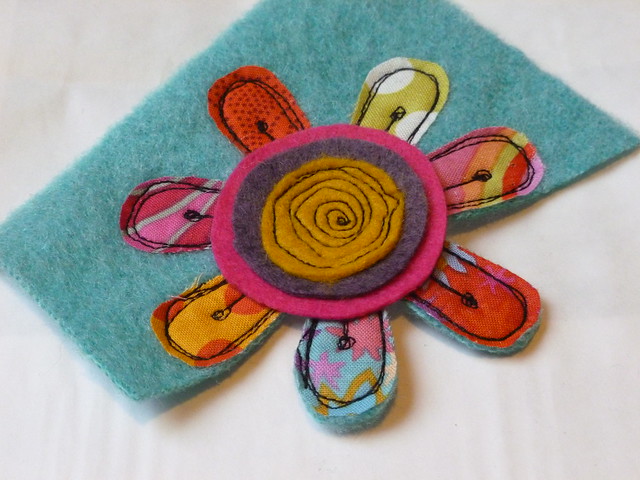
Next cut some circles of coordinating felt (or other fabric if you like).
These can be held in place by some more free machining (as below in a spiral) but equally you could hand stitch this bit or add a button if you wanted.
Flower brooch tutorial
Now cut away the blanket around the petals and you are nearly there.
 
Flower brooch tutorial
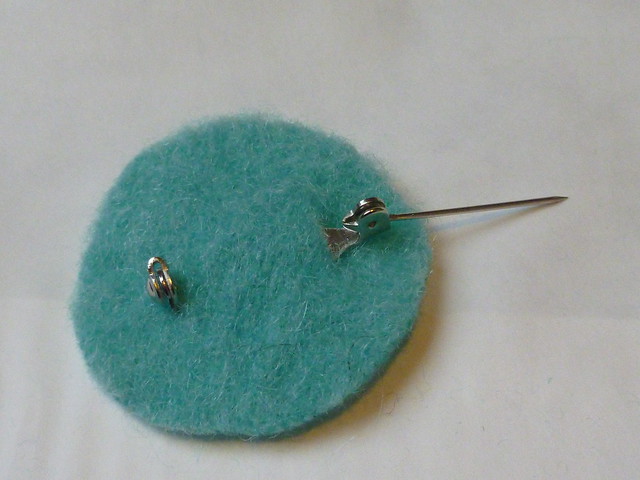
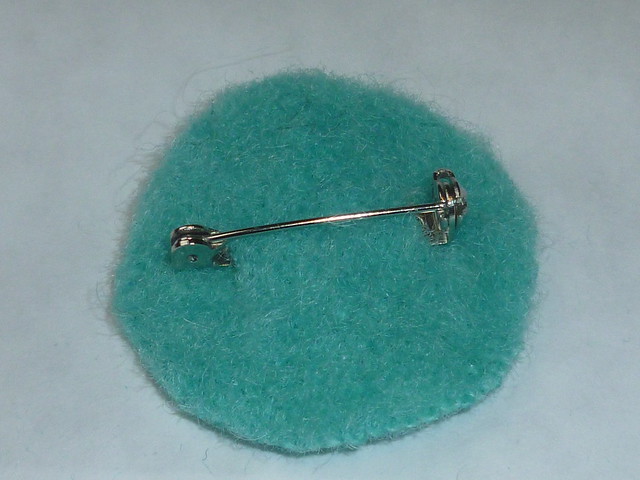
For the pin, I used a brooch clip pushed through two small slits in another circle of blanket.
(If you don't have a brooch pin, a small safety pin will also do the trick and can be sewn on).  
 
Flower brooch tutorial
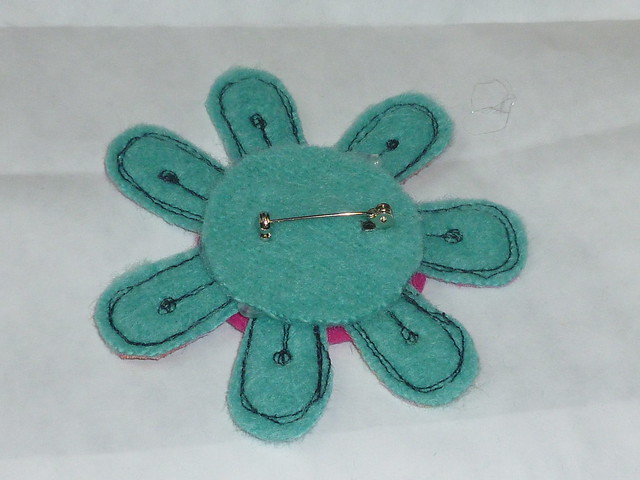
This can then be glued to the reverse of the flower.
(Hot glue works well but any craft glue would do).
Flower brooch tutorial
And that's it!
You will hopefully have ended up with something like this.
They can be pinned to a present, bag, coat or anything you like really.
 
For children I would attach the flower to a hairclip,
band or bobble as an alternative to the pin.
 
I would love to see if you make some and if any parts of the tutorial don't make sense please let me know and I will do my best to try and explain!


Happy sewing.
Vicky x